How to use Azure Cognitive Services to Convert Text to Speech
Azure Cognitive Services provides some of the best text-to-speech services on the market. Naturally, we wanted to use those voices when creating Langible, as some of the voices are very natural and human-like.
Langible is a small project with a shoestring budget, so maximizing the quality of the audio clips for the practice sentences in the app was a priority.
In particular, we liked the Portuguese (Portugal), Russian, Icelandic, and Finish voices, whcih are miles ahead of our other provider, the Google Cloud Text-to-Speech API.
Setting up your Azure account
The first step of using Azure Cognitive Services is to create an account. You can do this by going to the Azure website and signing up. Once you have signed up, click "Create resource".
You will be shown a list of services. Click "Speech", and follow the instructions to create a new Speech resource.

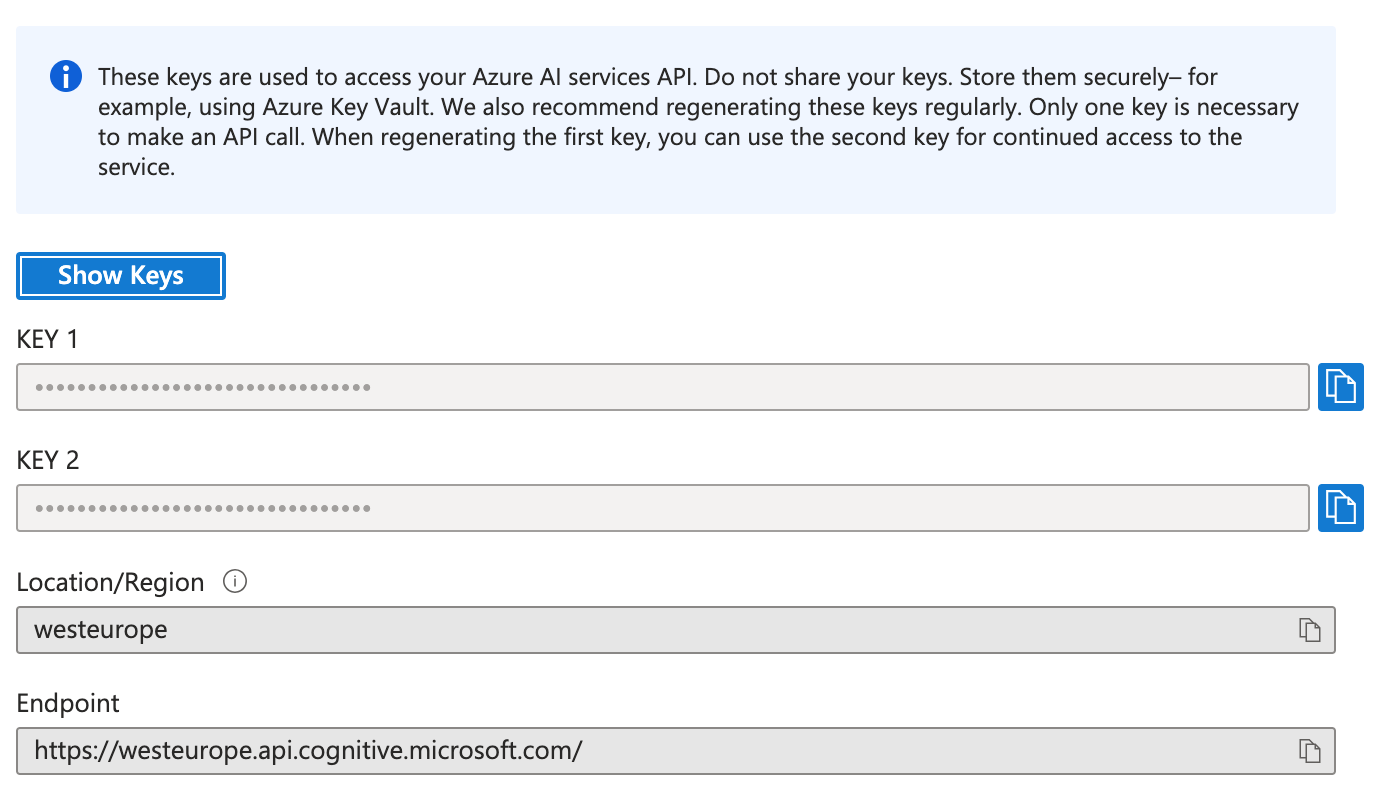
Once you have created the Speech resource, click "Click here to manage keys", and note down the values in the "Key1" and "Location" fields.
Now, we're ready to start using the Azure Text-to-Speech API.
Installing the Python SDK
The Python SDK for Azure Cognitive Services is called azure-cognitiveservices-speech.
You can install it using pip:
pip install azure-cognitiveservices-speech
Using the SDK
Here's a simple example of how to use the SDK to convert text to speech:
import os

from azure.cognitiveservices.speech import SpeechConfig, SpeechSynthesizer, AudioConfig

# Set up the speech synthesizer
speech_config = SpeechConfig(subscription="your-subscription-key", region="your-region")
synthesizer = SpeechSynthesizer(speech_config=speech_config, audio_config=None)

# Convert text to speech
synthesizer.speak_text("Hello, world!")
Saving to file
This will convert the text "Hello, world!" to speech and play it through your speakers. However, you can also save the audio to a file:
# Save the audio to a file
audio_config = AudioConfig(filename="output.wav")
synthesizer = SpeechSynthesizer(speech_config=speech_config, audio_config=audio_config)
synthesizer.speak_text("Hello, world!")
Generating text in non-English languages
You can also generate text in non-English languages. However, this requires some extra configuration.
First, you need to set the language of the synthesizer:
speech_config.speech_synthesis_language = "pt-PT"
Then, you need to set the voice of the synthesizer:
speech_config.speech_synthesis_voice_name = "pt-PT-DuarteNeural"
If you write the wrong voice name
If you enter an incorrect voice name, you might get an error like this:
Error details: Connection was closed by the remote host. Error code: 1007. Error details: Starting September 1st, 2021 standard voices will no longer be supported for new users. Please use n USP state: TurnStarted. Received audio size: 0 bytes.
To fix this, make sure that you have the correct voice name. You can find the voice names in this list.
How to preview voices in Azure Cognitive Services
If you want to preview the voices in Azure Cognitive Services, you can use the Voice Gallery. It was a bit tricky to find, so I thought I should share it here.
Conclusion
And there you have it! This code is all you need to convert text to speech using Azure Cognitive Services. We hope you find this article helpful.